A 5-step FRP grating install — prep supports, lay panels, clip, check bearing, finish with edge trim — delivers rated load and safety when done in order.
- Best for: contractors doing FRP deck installation on site
- Follow when: load rating and worker safety depend on correct bearing
- Key spec: verify support spacing, use stainless clips, follow 5-step sequence
Professional FRP Grating Installation
Proper installation ensures maximum performance and safety. Follow these 5 steps for professional results.
Step 1: Measure and Plan
Measure the installation area accurately. Account for panel dimensions and cutting waste. Plan support beam spacing to match grating span capabilities.
Step 2: Cut Panels to Size
FRP grating can be cut with standard tools: circular saw with carbide blade, jigsaw, or handsaw. Always wear safety glasses and dust mask. Seal cut edges with resin for corrosion protection.
Step 3: Prepare Support Structure
Ensure support beams are level and properly spaced. Minimum bearing surface: 40mm on each side. Clean support surfaces of debris.
Step 4: Install Grating Panels
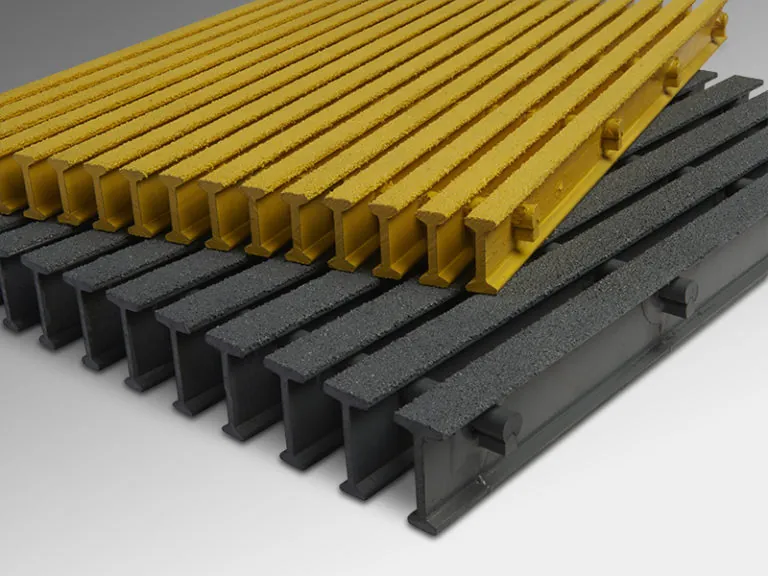
Place panels on supports with proper orientation (bearing bars perpendicular to supports). Leave 3-5mm expansion gap between panels.
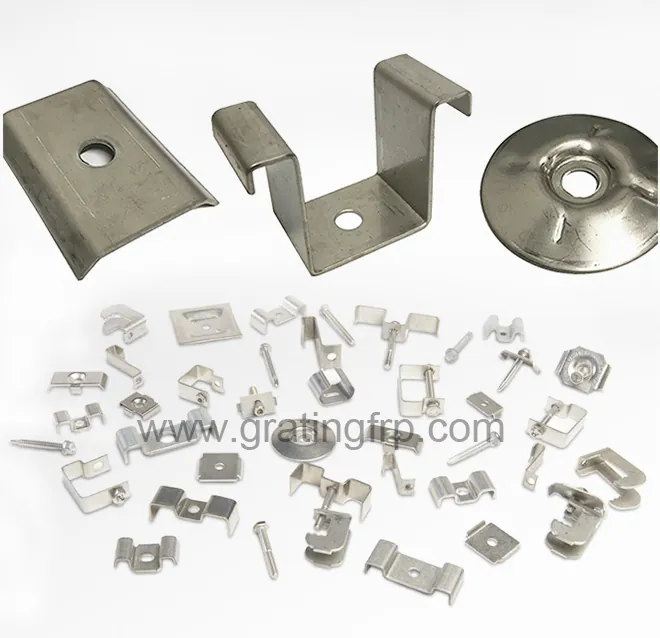
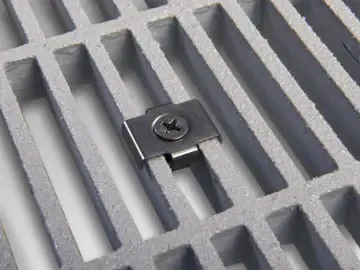
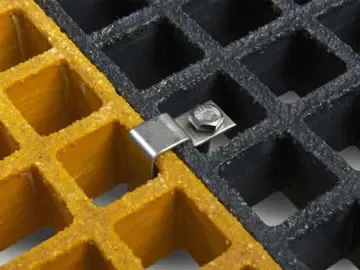
Step 5: Fasten with Clips
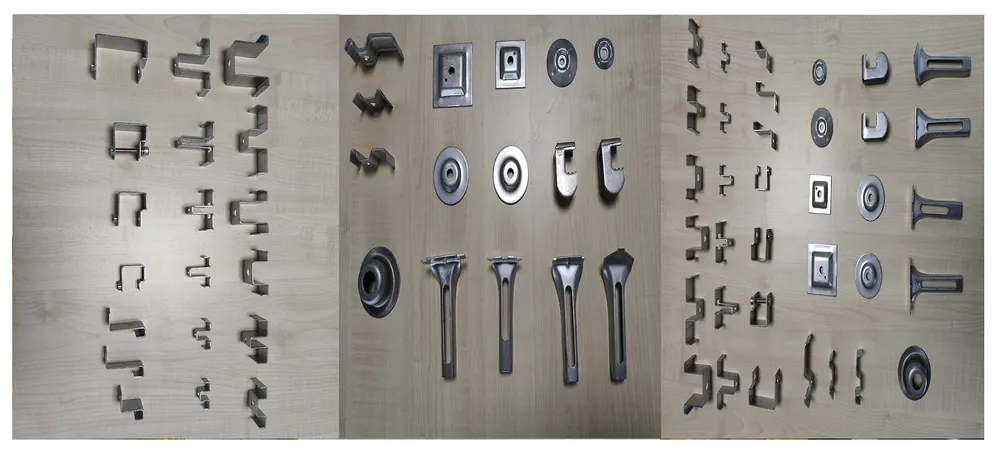
Use appropriate grating clips:
- M-Clip: Standard for most applications
- C-Clip: For edge mounting
- Z-Clip: For heavy-duty areas
- Stainless Steel: SS304 standard, SS316 for corrosive environments
Typically 4 clips per panel, 6-8 for heavy traffic or vibration areas. Torque: 15-20 Nm.
Frequently Asked Questions
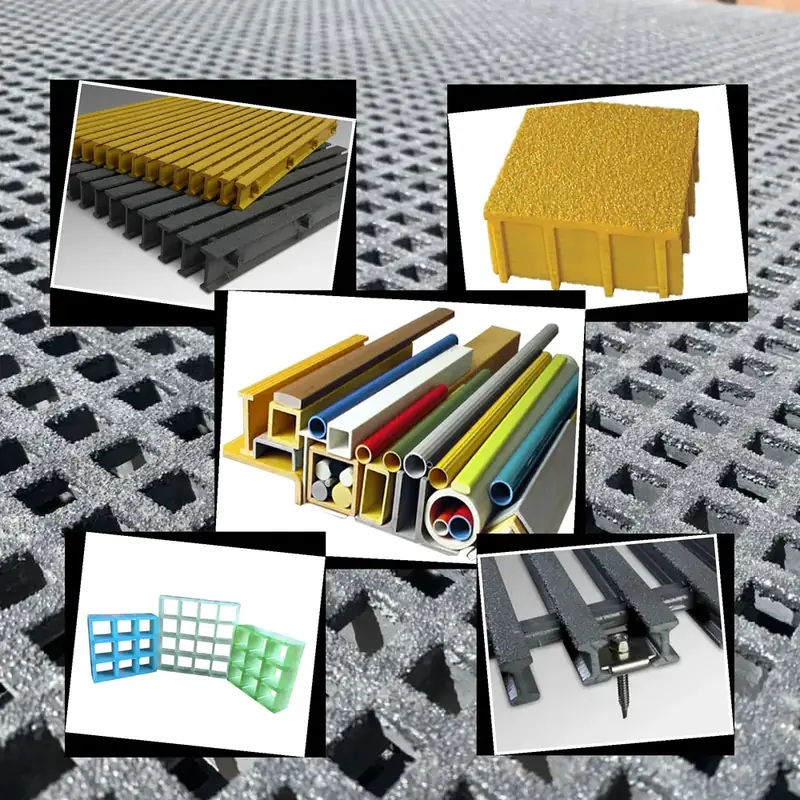
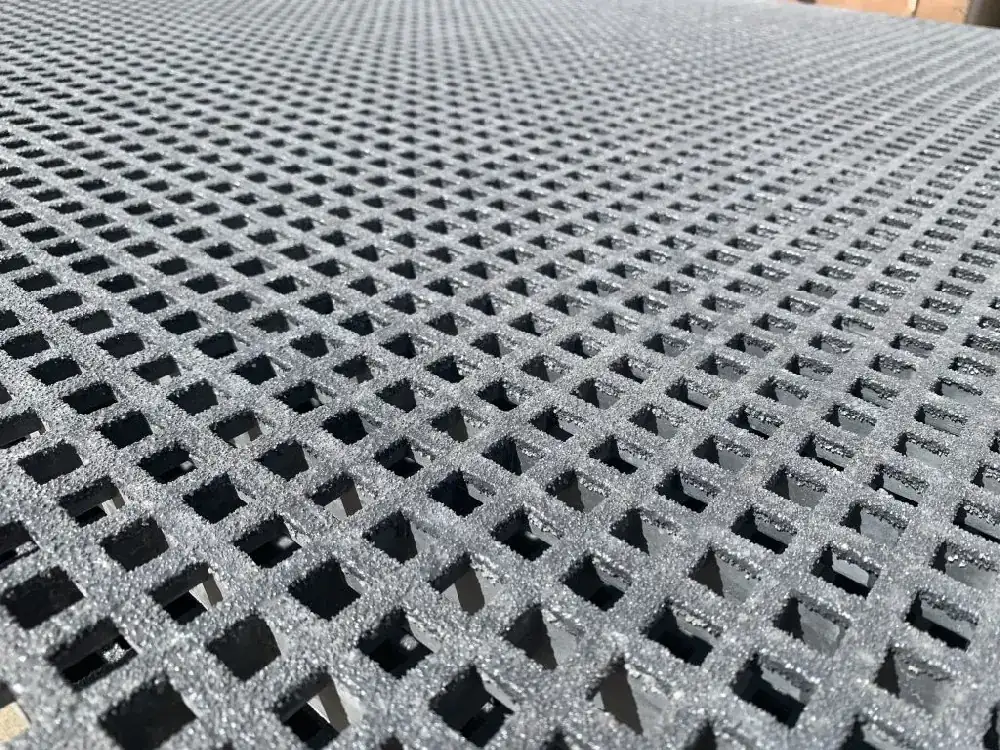
FRP (Fiberglass Reinforced Plastic) grating is a molded or pultruded fiberglass composite grid used for corrosion-resistant walkways, platforms and floorings. It combines glass fiber reinforcement with thermoset resin (polyester, vinyl ester, epoxy) for superior strength-to-weight ratio, zero rust and 20+ year service life.