Install FRP grating with proper bearing support, clip spacing and safety PPE: panels must rest on support bars, not unsupported spans, to reach rated load.
- Best for: installers and site supervisors setting up FRP decks
- Specify when: support layout, clip spacing and load rating must be respected
- Key spec: ISO 14122, min bearing, clip type per panel
1. Pre-Installation Preparation & Tools Required
Before installing FRP grating, ensure support structures are properly designed and installed. Required tools include: angle grinder with diamond cutting blade (for cutting panels), tape measure, marker pen, socket wrench set (13mm or 17mm for M8/M10 clips), drill with metal bits, safety glasses, gloves, and knee pads. FRP grating can be cut with standard wood-cutting tools (jigsaw, circular saw with carbide-tipped blade), but diamond blades provide the cleanest cuts. Always wear respiratory protection when cutting FRP, as dust can irritate skin and lungs. Panels should be acclimated to installation temperature for 24 hours before cutting, especially in cold weather below 10°C.
2. Step 1: Measure and Cut Panels to Size
Measure the opening carefully, accounting for expansion gaps of 3-5mm per panel edge. FRP has a thermal expansion coefficient of 12-15 × 10⁻⁶ /°C (longitudinal), meaning a 3.66m panel can expand up to 6mm over a 50°C temperature range. Mark cutting lines with a marker pen, then cut using an angle grinder or jigsaw. For circular cutouts (pipes, columns), use a hole saw or jigsaw. All cut edges should be sealed with resin or edge coating to prevent moisture ingress, especially for vinyl ester and phenolic resins. Cut panels should be dry-fit before final installation to verify dimensions.
3. Step 2: Place and Align Panels on Supports
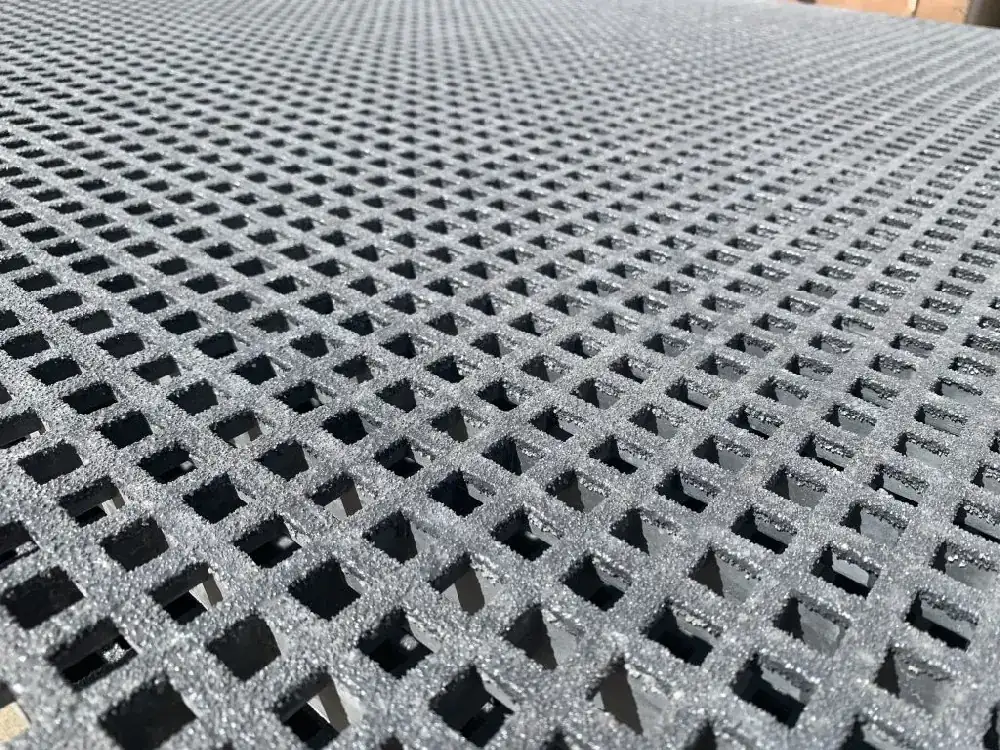
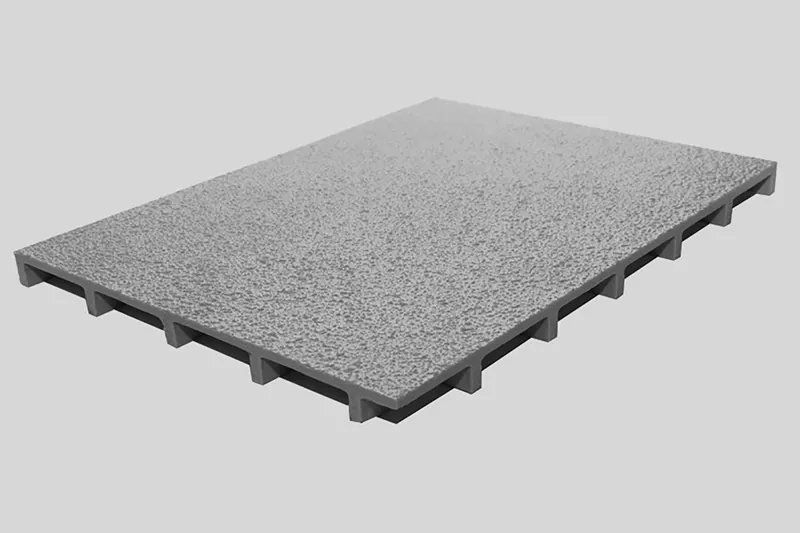
Place panels onto support beams with minimum bearing of 38mm (1.5 inches) on each side. Ensure panels are properly aligned and gaps are uniform. For walkways, maintain consistent gap of 3-5mm between panels for thermal expansion. Panels should sit flat on supports without rocking — if rocking occurs, check support levelness or shim as needed. For sloped applications (ramps, stair treads), ensure grit surface is facing up for maximum anti-slip performance. Never walk on panels that are not properly secured, as they can shift and cause falls.
4. Step 3: Install Grating Clips and Fasteners
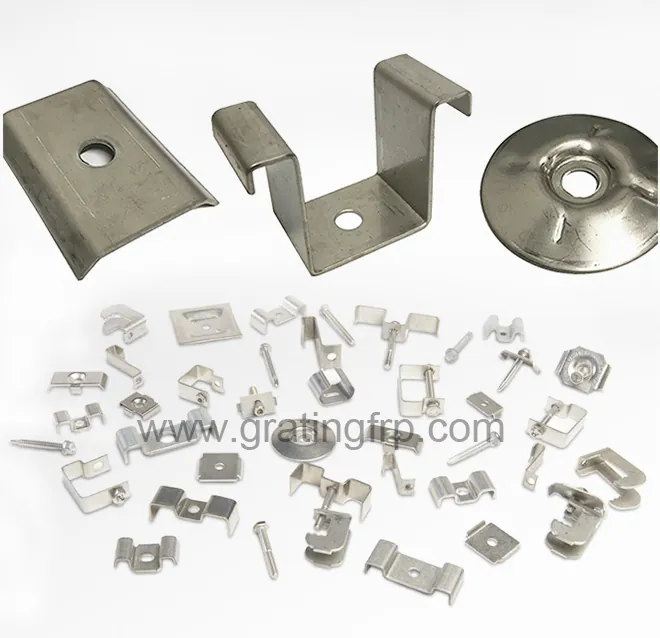
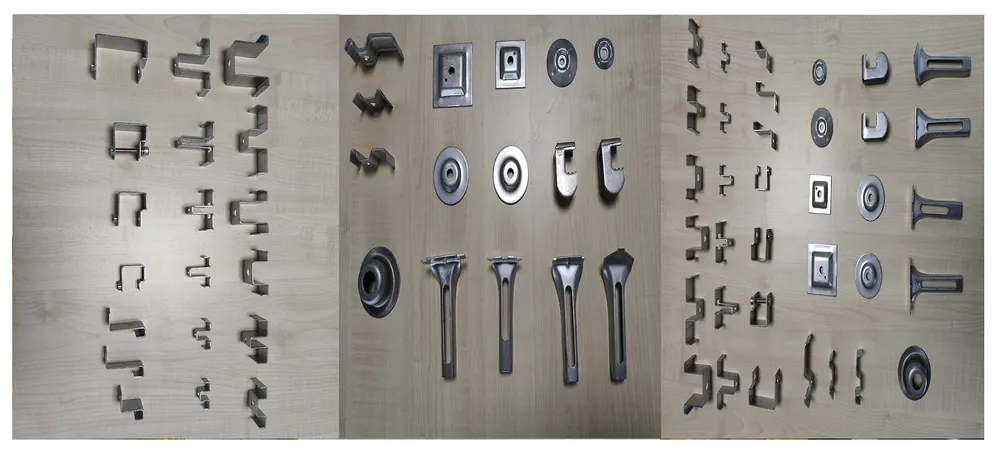
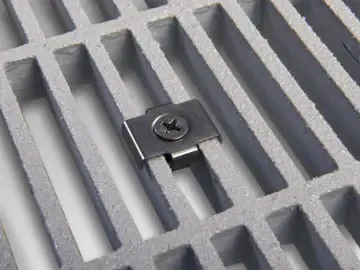
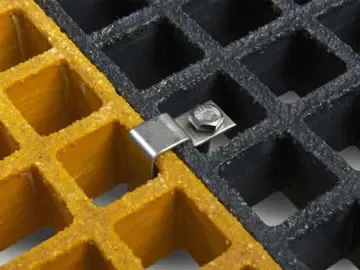
Use minimum 4 clips per standard 1220×3660mm panel — one at each corner. For heavy-duty or high-traffic areas, use 6 clips per panel (additional at mid-span). Clip types: M-Clip (top mount, most common), C-Clip (side mount, limited access), L-Clip (edge mount). Tighten clips to 15-20 Nm torque — do not over-tighten as this can crack the grating. For corrosive environments, use SS316 stainless steel clips. For handrail posts, use base plates with 4 bolts each, minimum M10 size. All fasteners should be checked after 30 days and re-torqued if necessary.
5. Step 4: Edge Trim and Handrail Installation
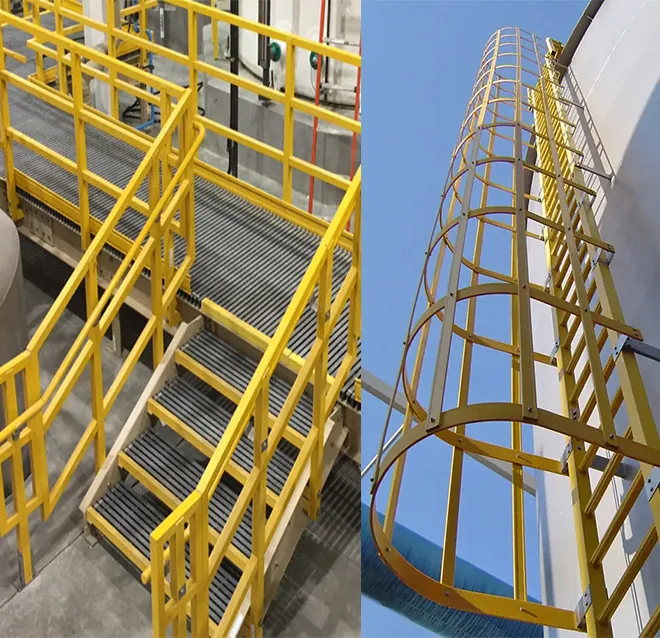
Install edge trim (FRP angle or flat bar) along all exposed panel edges to prevent delamination and provide a finished appearance. Handrail systems should be installed according to OSHA 1910.23 or EN ISO 14122 standards: minimum handrail height 1100mm, mid-rail at 550mm, toe board 100mm high for platforms above 2m. Handrail posts should be spaced maximum 1500mm apart, and base plates must be secured to support structure (not just grating) for structural integrity.
6. Step 5: Final Inspection and Load Testing
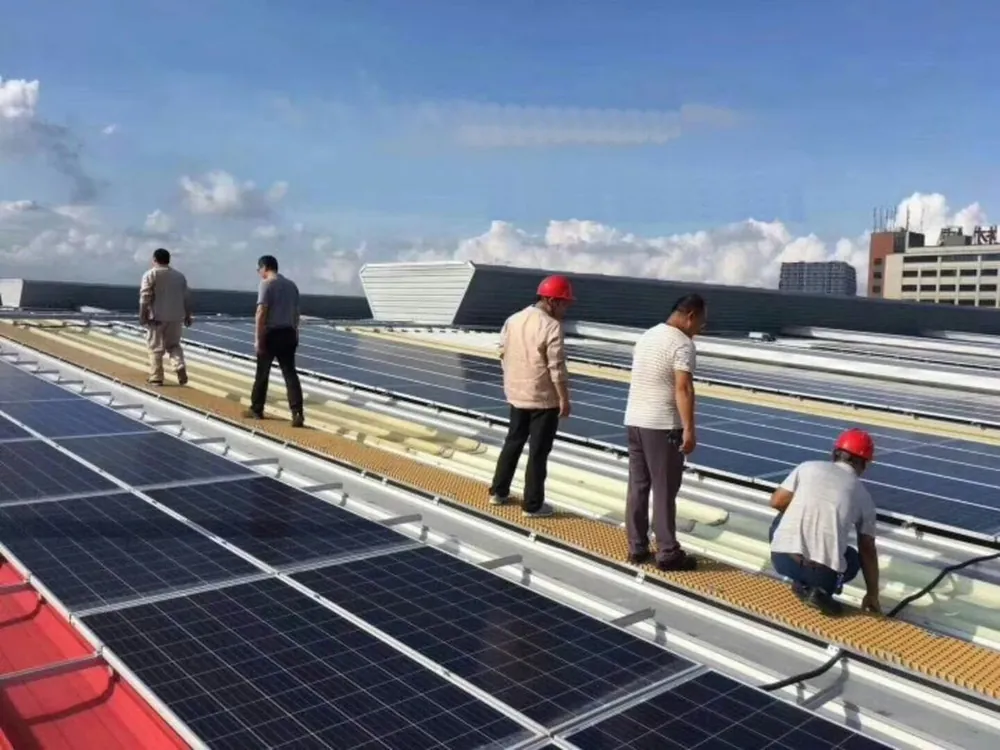
After installation, perform a visual inspection: check all clips are tight, panels are flat, no sharp edges protrude, expansion gaps are correct, handrails are secure. For critical applications, perform a load test by applying 1.5 times the design load for 1 hour, then check for permanent deflection or damage. Document the installation with photos and measurements for future reference. Provide maintenance manual to facility manager, including recommended inspection schedule (quarterly for corrosive environments, annually for normal environments).
7. Common Installation Mistakes to Avoid
1. Not leaving expansion gaps — causes panels to buckle in hot weather. 2. Over-tightening clips — cracks grating, reduces strength. 3. Using wrong clip material — steel clips rust in corrosive environments, staining grating. 4. Not sealing cut edges — allows moisture ingress, causes delamination over time. 5. Insufficient bearing — panels need minimum 38mm bearing on supports. 6. Walking on unsecured panels — major safety hazard. 7. Ignoring support structure — grating is only as strong as its supports. 8. Using wrong cutting blade — high-speed steel blades overheat and melt resin, poor cut quality.
Frequently Asked Questions
FRP (Fiberglass Reinforced Plastic) grating is a molded or pultruded fiberglass composite grid used for corrosion-resistant walkways, platforms and floorings. It combines glass fiber reinforcement with thermoset resin (polyester, vinyl ester, epoxy) for superior strength-to-weight ratio, zero rust and 20+ year service life.